")
You’ll be able to see exactly what goes where when you disassemble the Xbox One controller. It’s easy to put back together too.
After putting all the parts together take the online controller test to check all the buttons are working correctly
How to Take Apart Xbox One Controller (in 6 steps)
Xbox lover sometimes want to take apart controllers just to change the color of it’s LED as they want. The Xbox One controller has a lot going on inside, so we’re showing you how to take it apart and put it back together again. However, it’s assembly is a bit difficult. So, it might take an hour or so to take apart and put it back together.
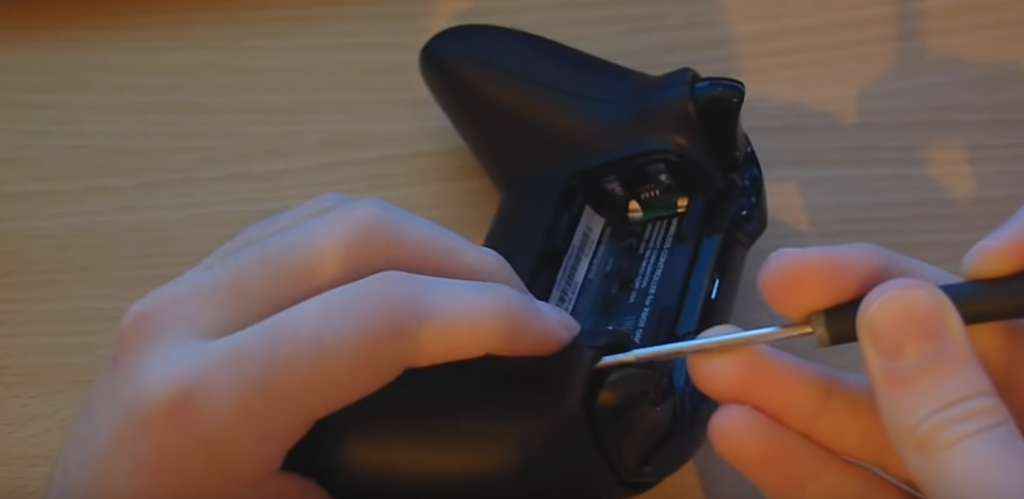
1. Remove the battery
First thing you need to do is remove the battery. There are two screws holding the battery in place. Once those are removed, gently pull out the battery.

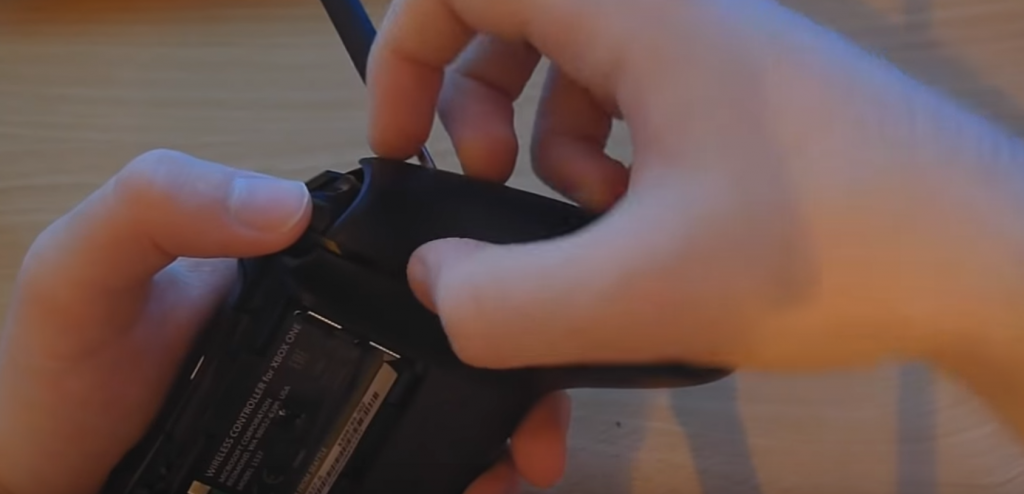
2. Pull off the Panels
You should use two screws or any similar objects to take off the panels as it’s shown in the picture

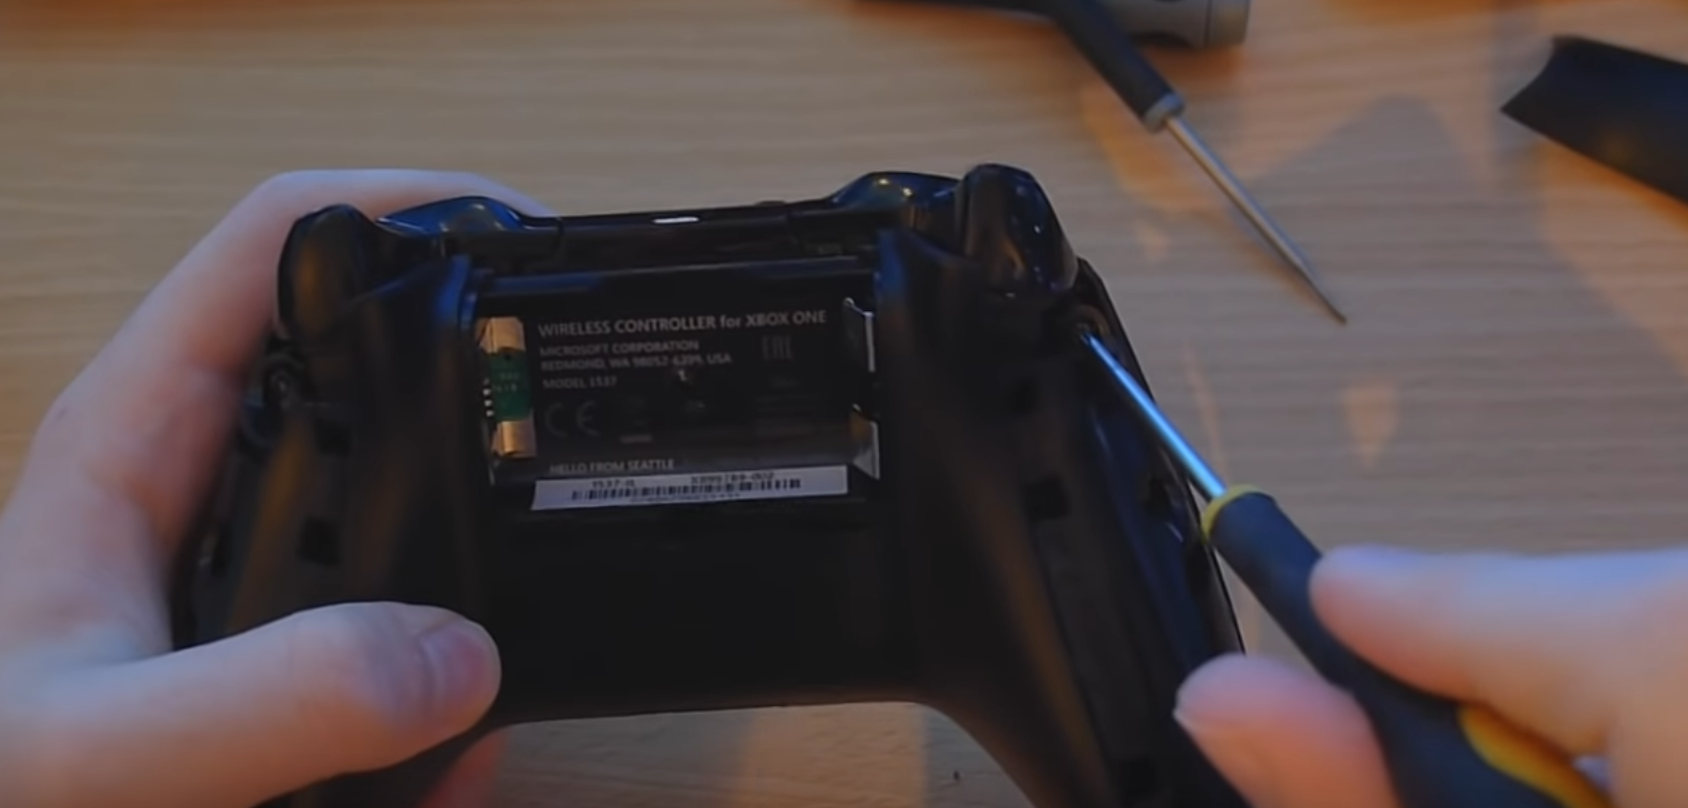
3. Unscrew the panels
Next, unscrew the bottom half of the controller. This will allow you to take off the plastic piece that covers the buttons.
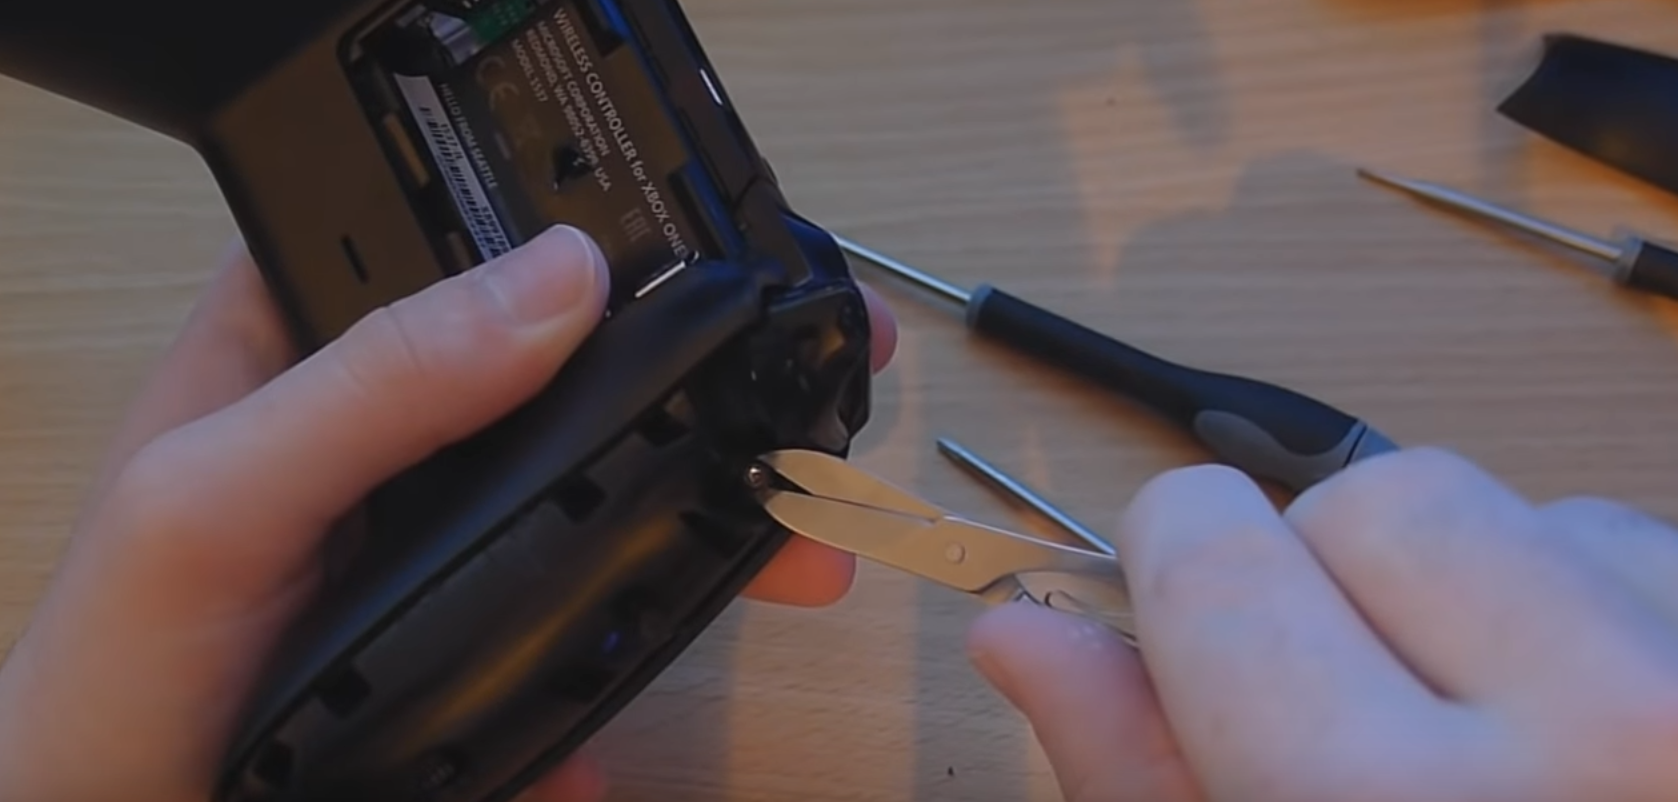
4. Remove the bumpers
Just put the screw under the bumpers, and pull them off from both sides.
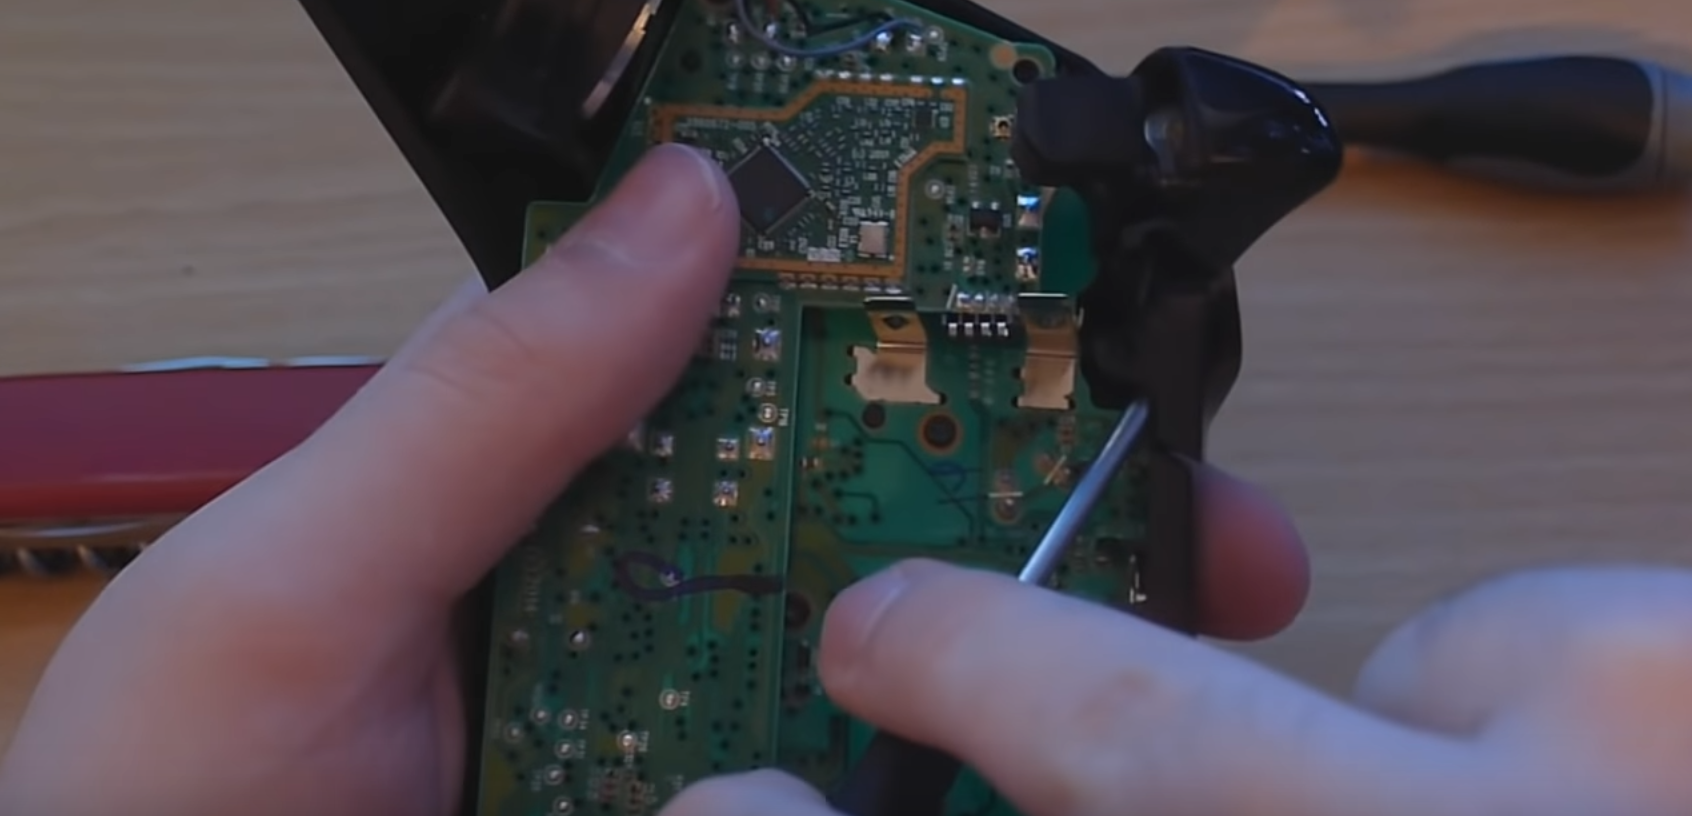
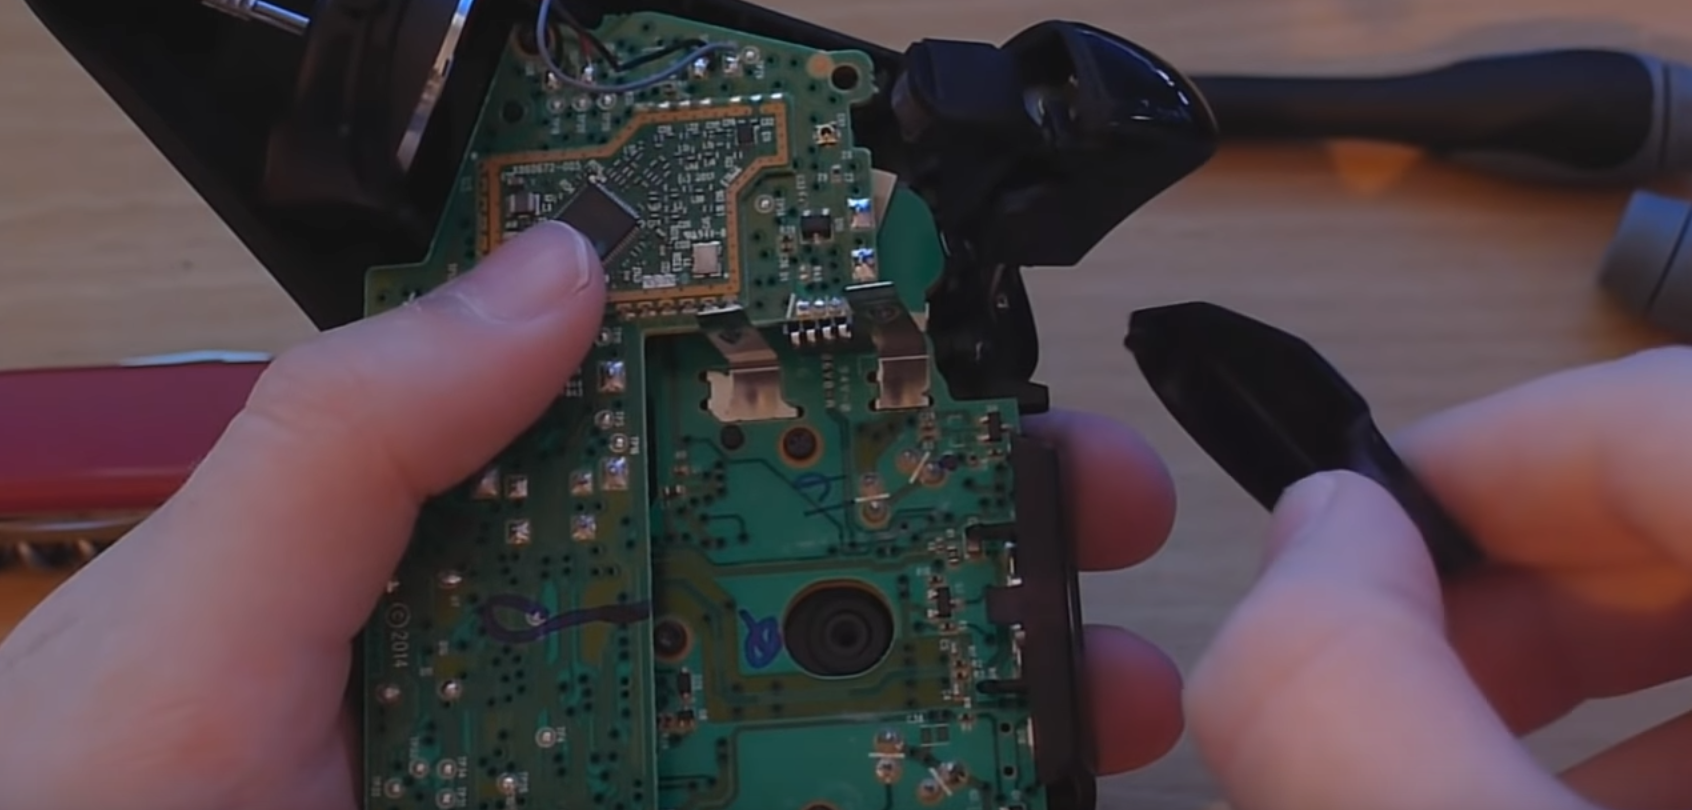
5. Open the screws on the boards
Unscrew all the screws on two boards. Here you can separate the wires, this is optional. I recommend not to do that, because its putting back is awkward.

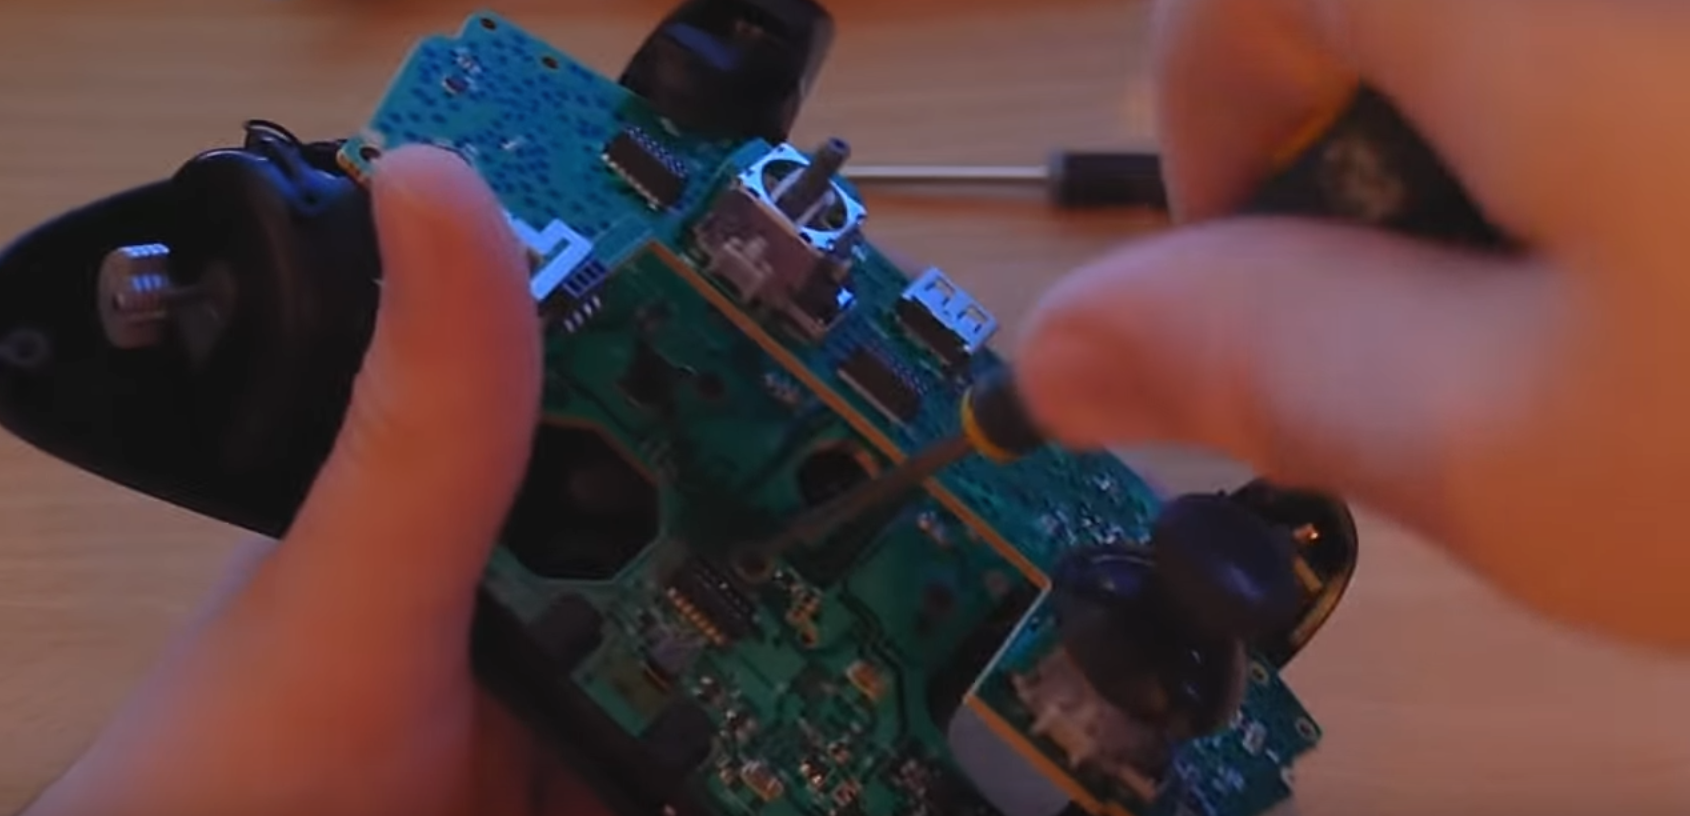
6. Pull off the bottom board
You should again use a screw to pull of the bottom board.

Done!
There are four wires inside the controller. They’re labeled A, B, C, and D. If you follow these steps, you’ll be able to disconnect them without any trouble.


